wordpress version update
In this chapter, we will study how to update version in WordPress. Here, we will upgrade WordPress to the latest version through the admin panel.
Following are a few simple steps to update the version in WordPress.
Step (1) − Click on Please Update Now as shown in the following screen.
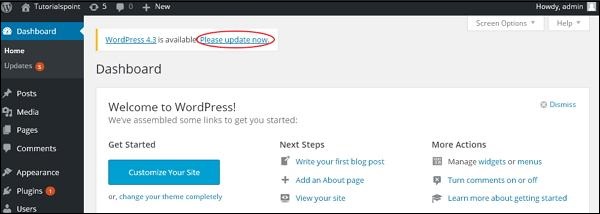
You will get notifications in WordPress admin panel when there is a newer version available for WordPress. Before updating, it is advised to keep WordPress backup.
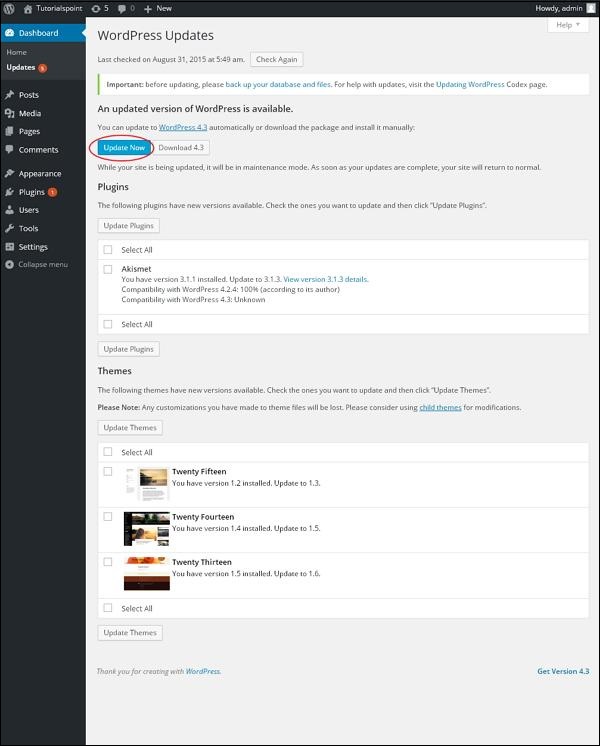
Step (2) − After clicking on the update link, the following page gets displayed. Click on Update Now button.
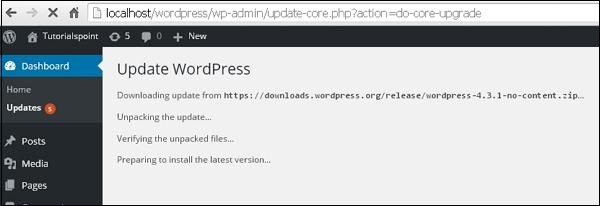
Step (3) − The following message gets displayed during the upgradation of WordPress.
Note − While updating the version, if you get an error as
Fatal error: Maximum execution time of 30 seconds exceeded in C:\your wordpress folder\wp-includes\class-http.php on line 1597
then you need to take the following actions −
- Open your WordPress folder → wp-includes folder
- Open class-http.php file and add the following line at the beginning − set_time_limit (0);
- Save the file.
Now your WordPress is successfully upgraded.
Comments
Post a Comment